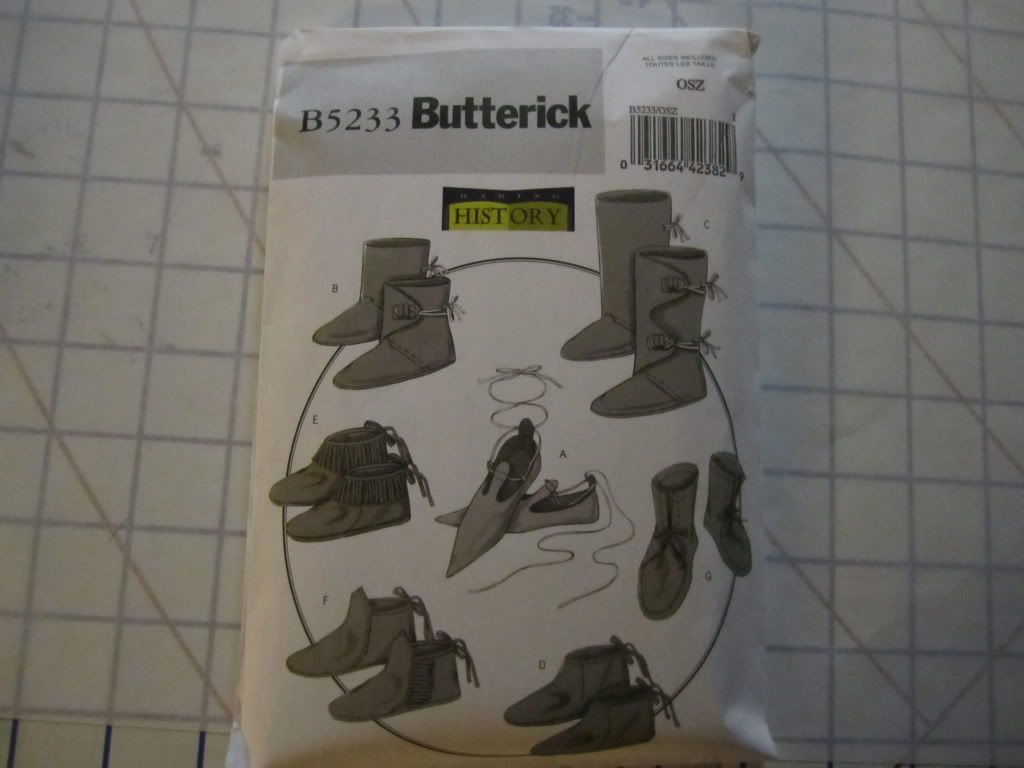
Greetings readers! Today we are going to follow a lovely tutorial created by ORS member and ORS leader Charlotte. She made her own regency slippers recently, and did a bang-up-job of it, so I've decided to unapologetically plaigiarize her work over here on the ORS blog so we can share this wonderful, and entirely manageable project.
Finding appropriate flats for regency costume is always a challenge. I've been prone to using soft dance shoes, khussa shoes and flats I find commercially. Regency dance-slippers should be flat and comfortable, with some measure of softness, and it's hard to find that at a store--except perhaps a pair of ballet flats, however they take it a step further by reducing the sole to nothing, and being ultra flexible. But starting with a basic pattern, and using some really minor modifications, Charlotte shows us that it's easy to make your own customized pair of regency shoes where you can go as simple or as elaborate as you like.
She begins with a pattern:
 |
| "This is a good basic pattern to start with." Charlotte writes. |
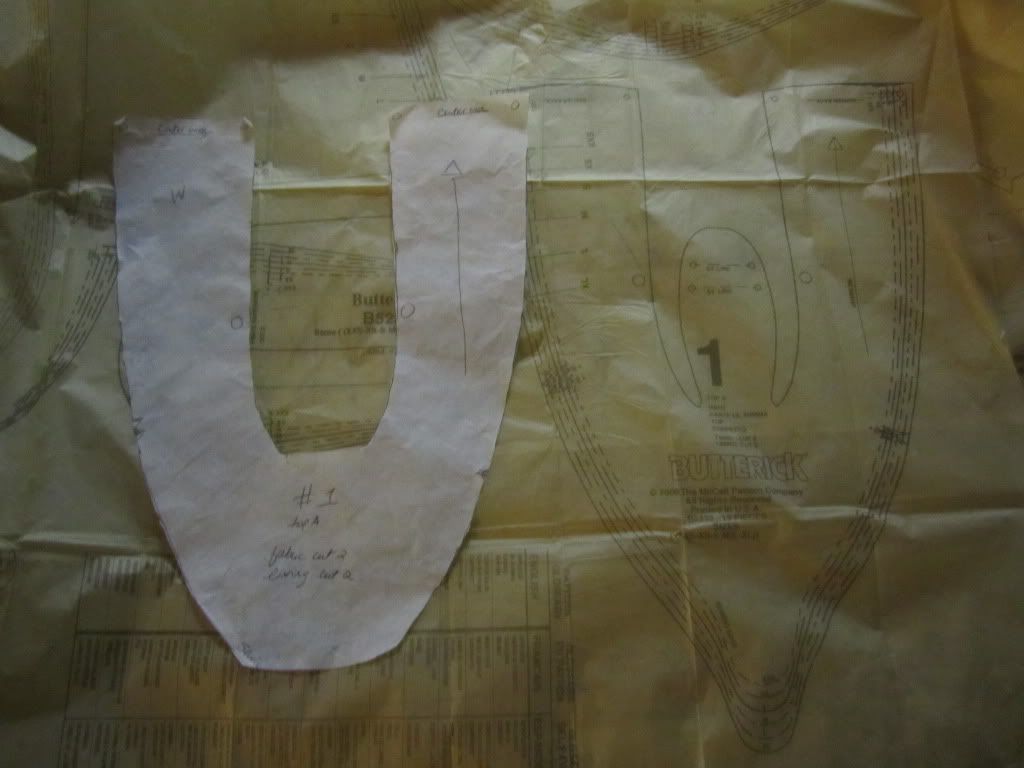 |
| "My second alteration involved removing the tongue and squaring off the toe, to match the length of the sole." |
 |
| "My first alteration involved squaring off the toe and widening it a bit. I also lenghtened the tab for the ribbon casing." |
Charlotte chose to use a soft, synthetic leather; however your options are unlimited when it comes to this project. You can use extant shoes as inspiration. Here are some links gathered by some RSA members:
Purple late regency -
http://tinyurl.com/28udb7
Pink Kid Leather -
http://tinyurl.com/2zx5ex
Leather -
http://tinyurl.com/2gxgv6
1870-1810 Satin -
http://tinyurl.com/3bsetz
Chartreuse Green Satin Half Boot 1818 -
http://tinyurl.com/35rm95
Leather 1830s
http://tinyurl.com/2ou3ue
Here is another collection.
On with the tutorial. ..
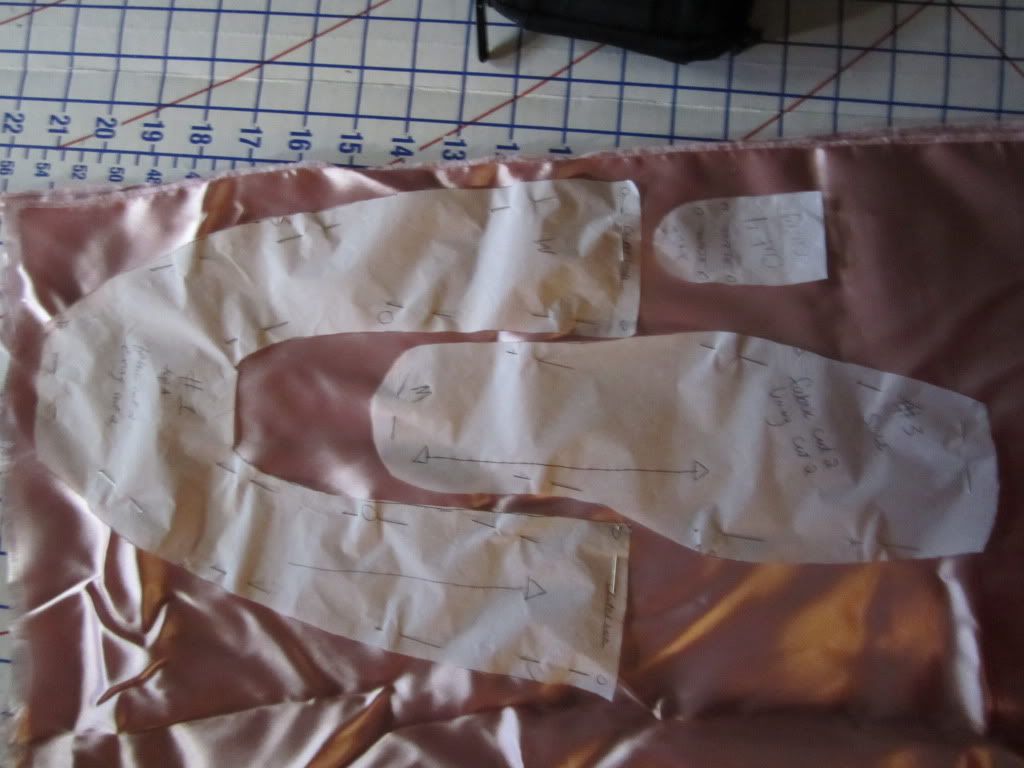 |
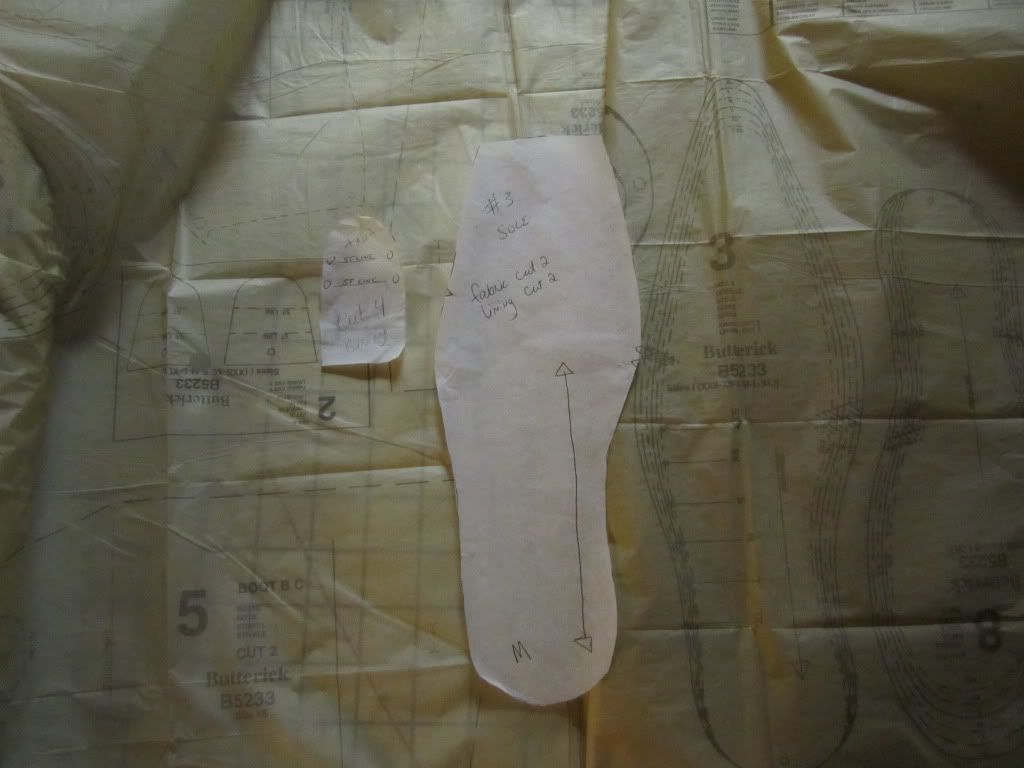
| "Cut 2 lining and 2 facing for the sole and the top. Cut 4 lining of the tab. Use a 1/4 inch seam for all stitches." |
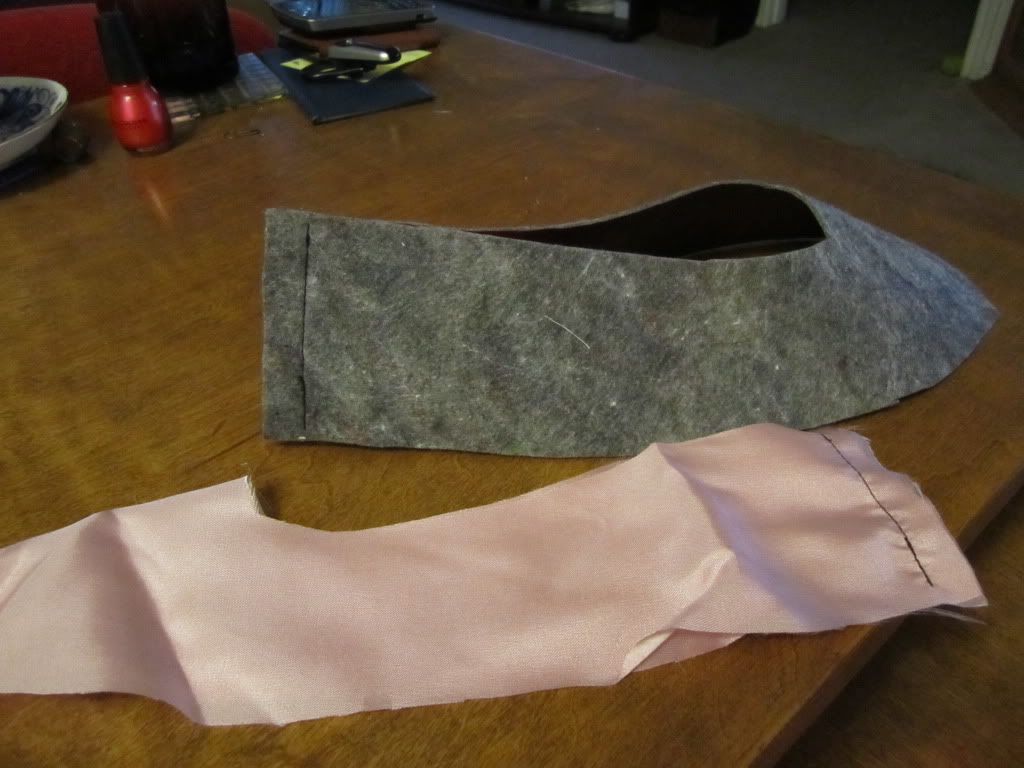 |
| "Right side together, sew the ends of the top of the shoe together, for each lining and facing piece." |
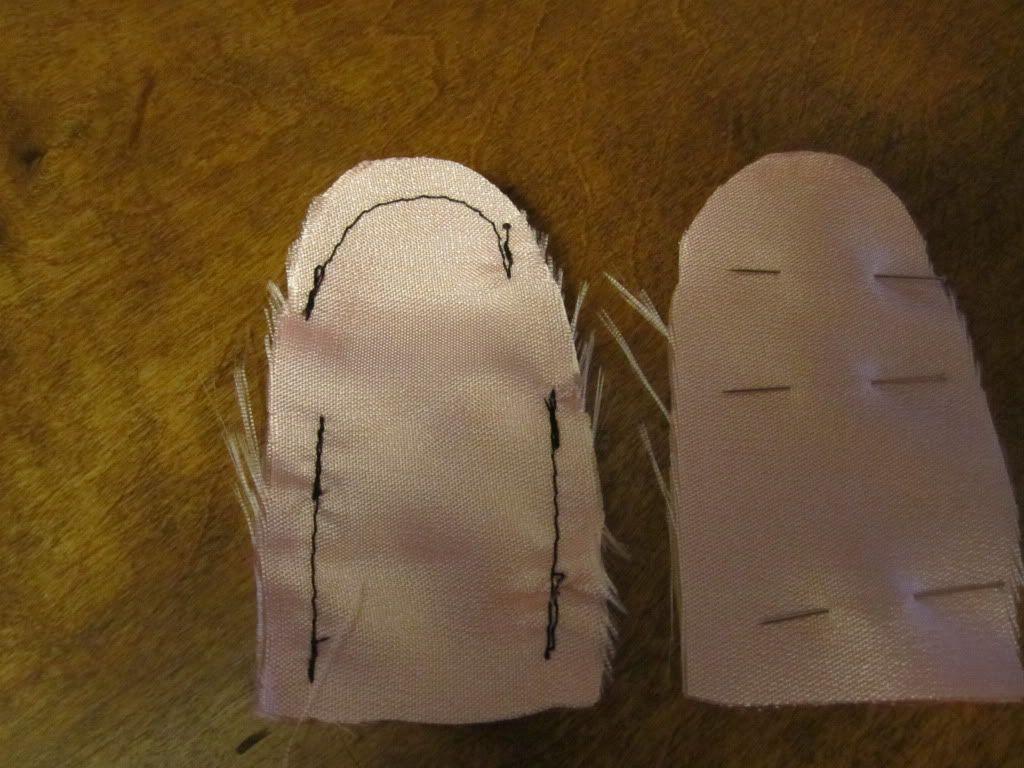 |
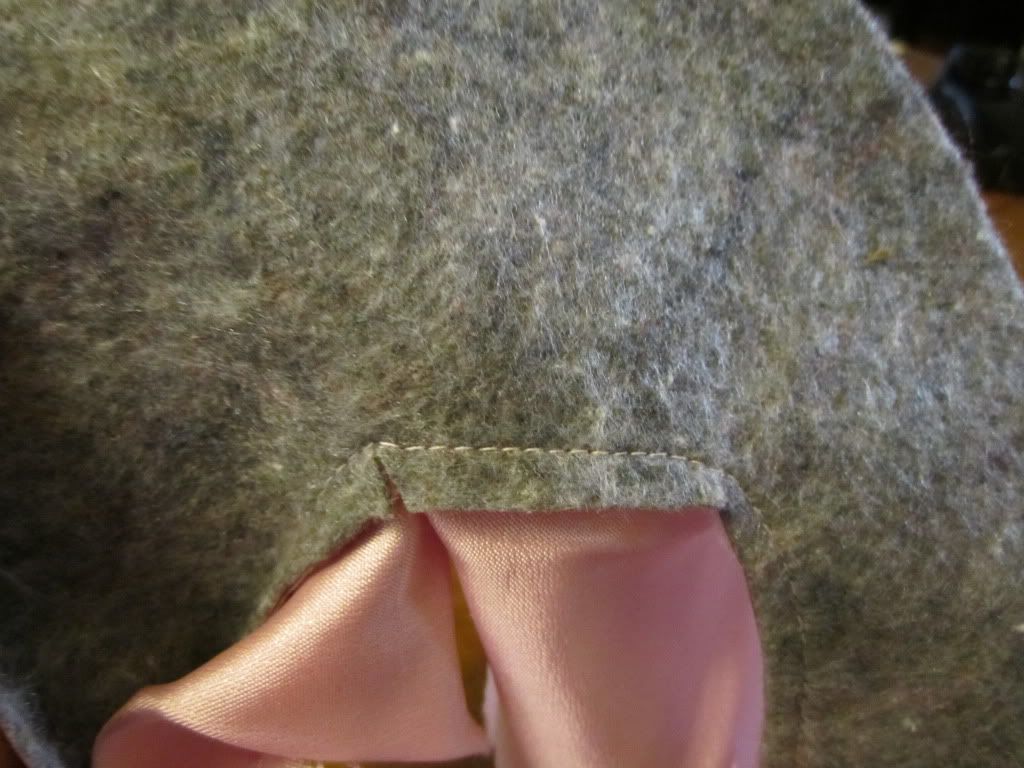
| "Right sides together, sew both tabs. Leave a space open for casing, as shown. Turn right side out." |
 |
| "This particular lining was fraying pretty badly so I hand stitched the edges of the casing to keep this in check." |
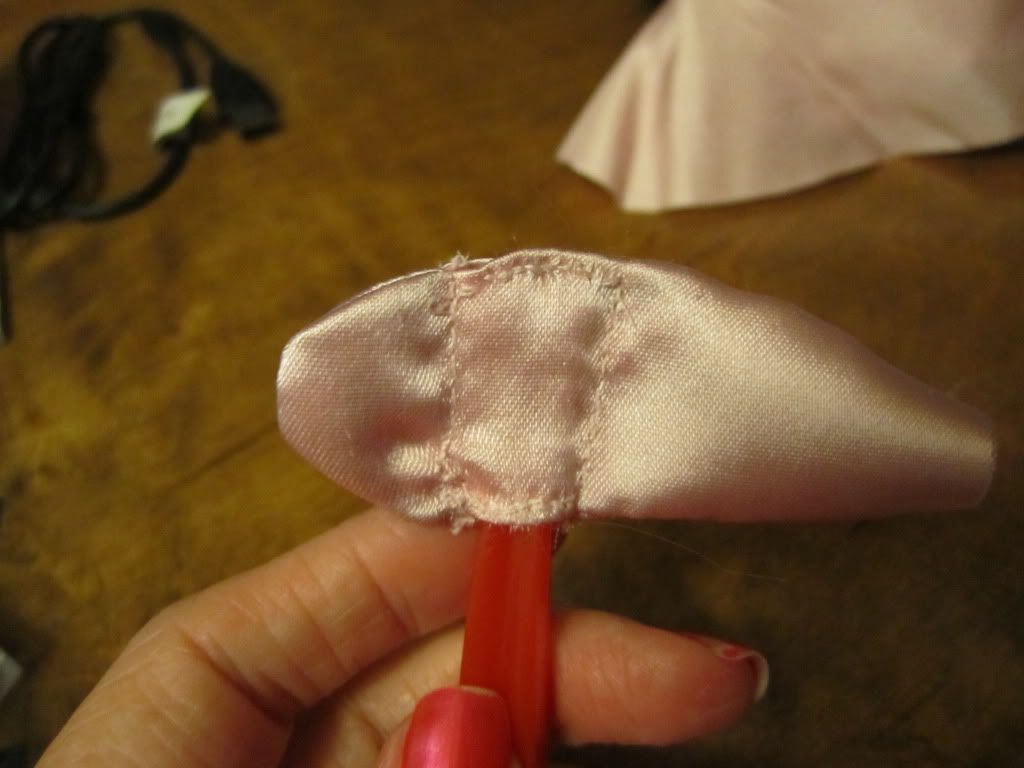 |
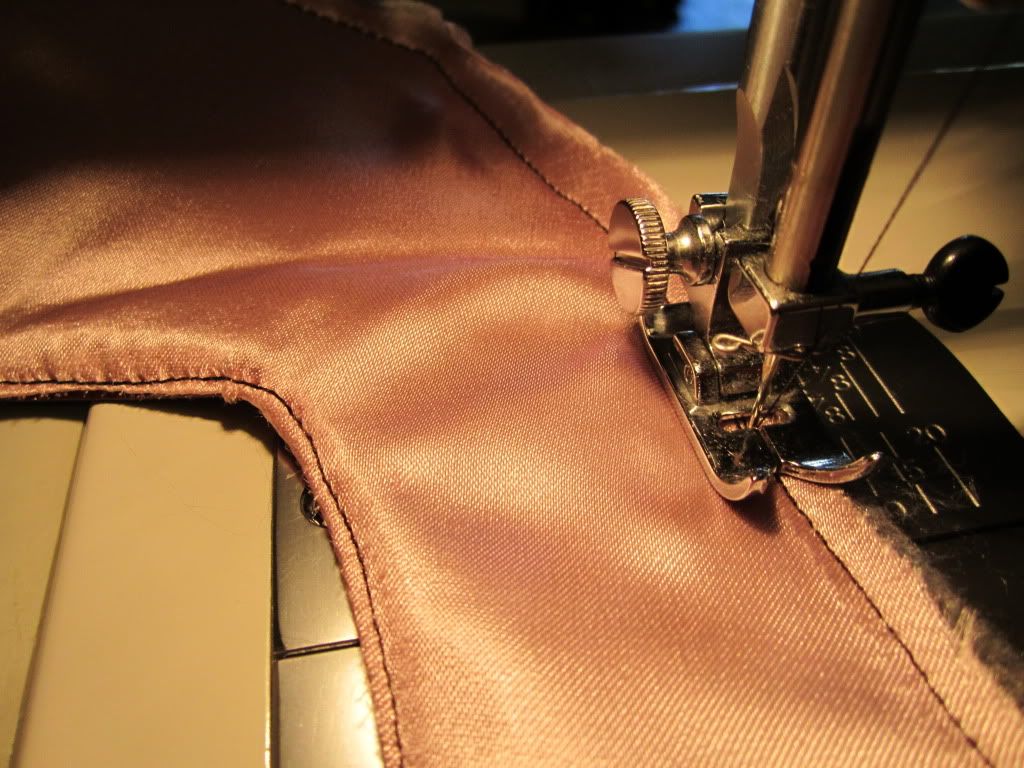
| "Stitch a line above and below the casing to allow for a clear channel." |
 |
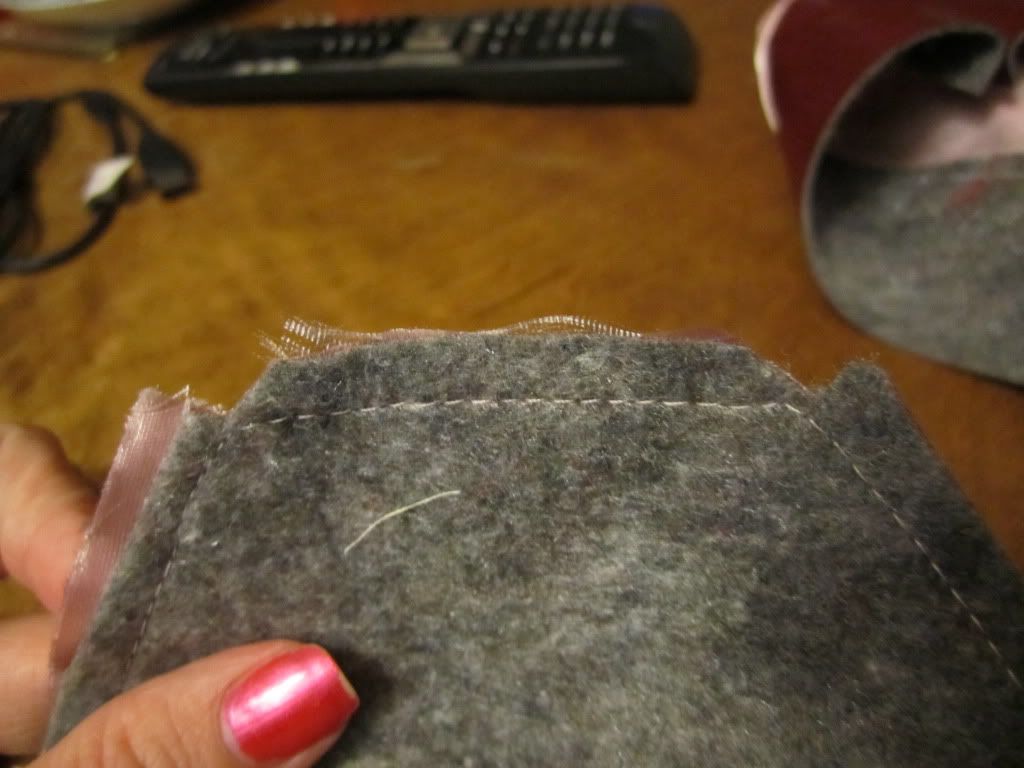
| "On right side of lining, stitch the tab to the bottom at the back seam. Make sure the tab does not extend above the top of the lining, or it will show outside of the finished shoe." |
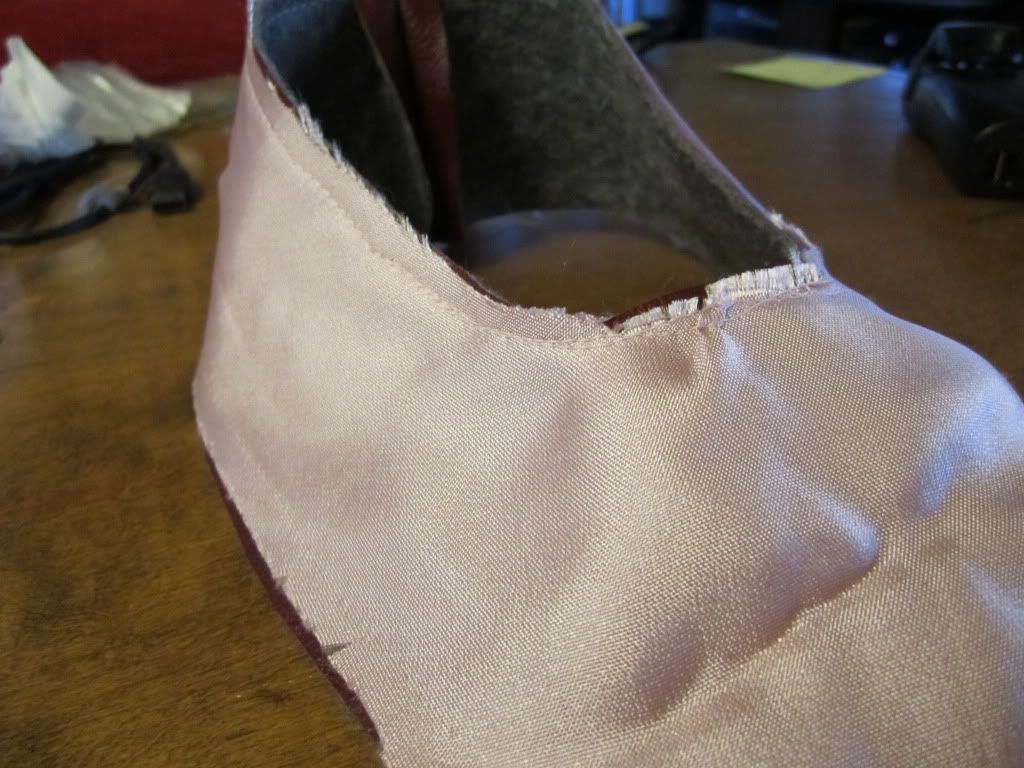 |
| "Right sides together, and matching the back seam, stitch around the upper edge" |
 |
| "Clip the curve at throat of shoe." |
 |
| "Turn lining to inside. Pin carefully so that the lining is secured to the inside and then edge stitch the upper opening to secure the lining." |
 |
| "Another view of the edge stitching." |
 |
| "Stitch the outer edge of the lining and facing of the upper part of the shoe." |
 |
| "Add another stitch on the outside around the heel. I extended mine from about the middle of the shoe back around to the other side." |
 |
| "Clip the curve of the toe." |
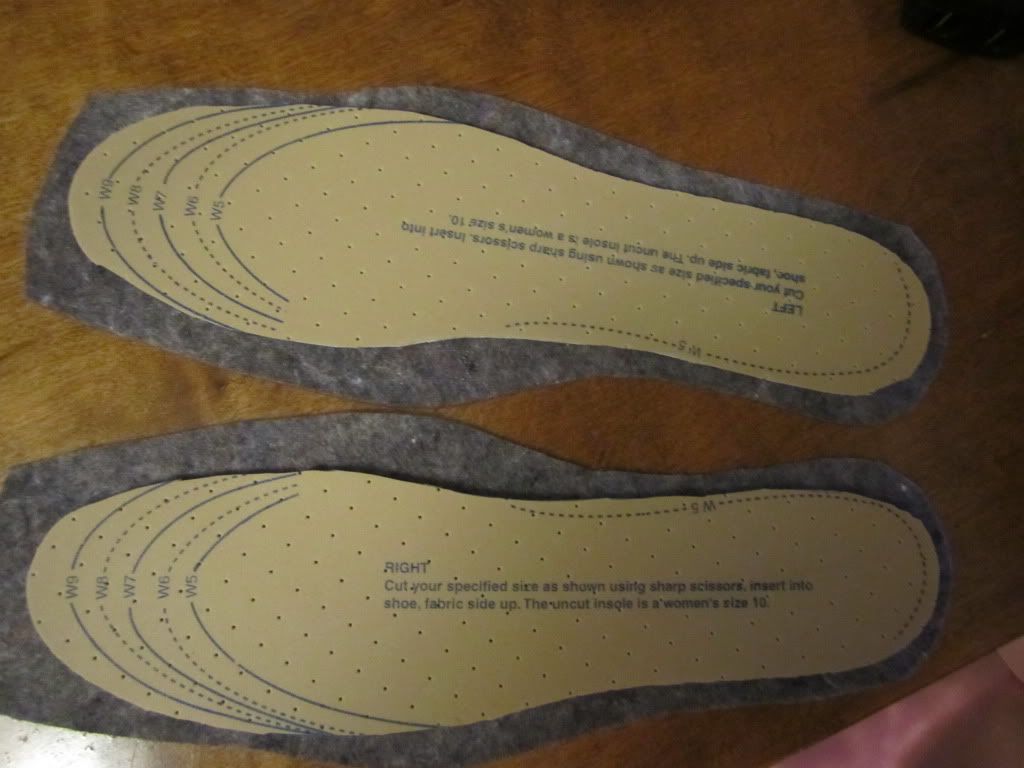 |
| "Trim purchased inserts to fit with a comfortable seam allowance." |
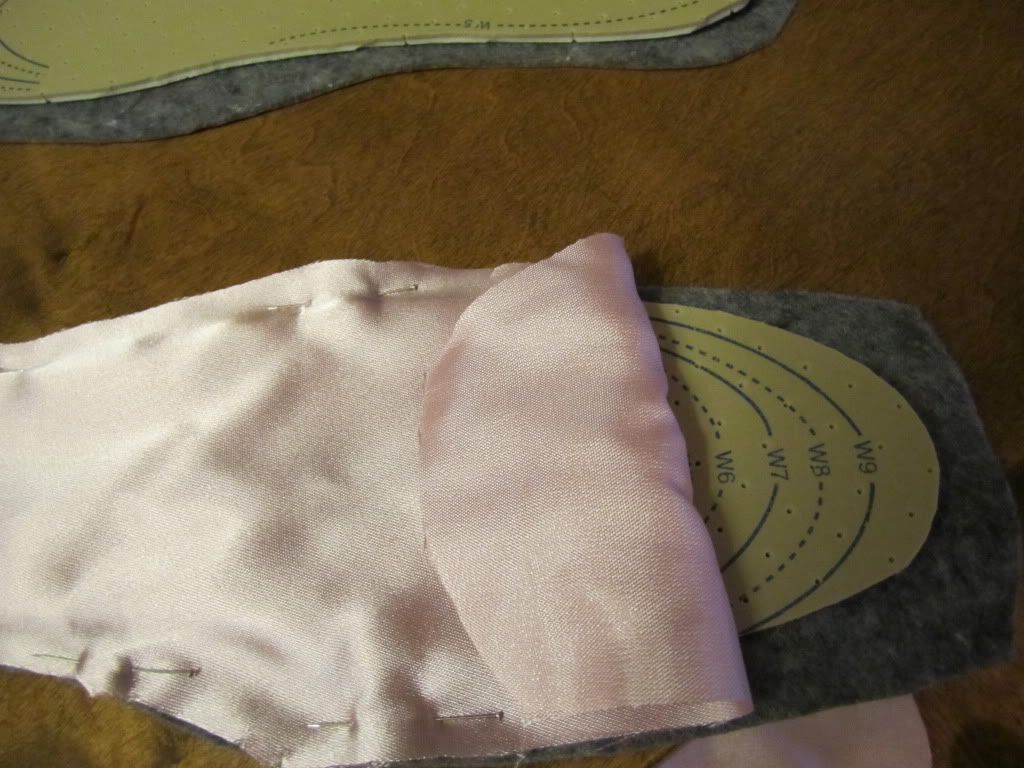 |
| "Stitch lining to facing, sandwiching the cushion between." |
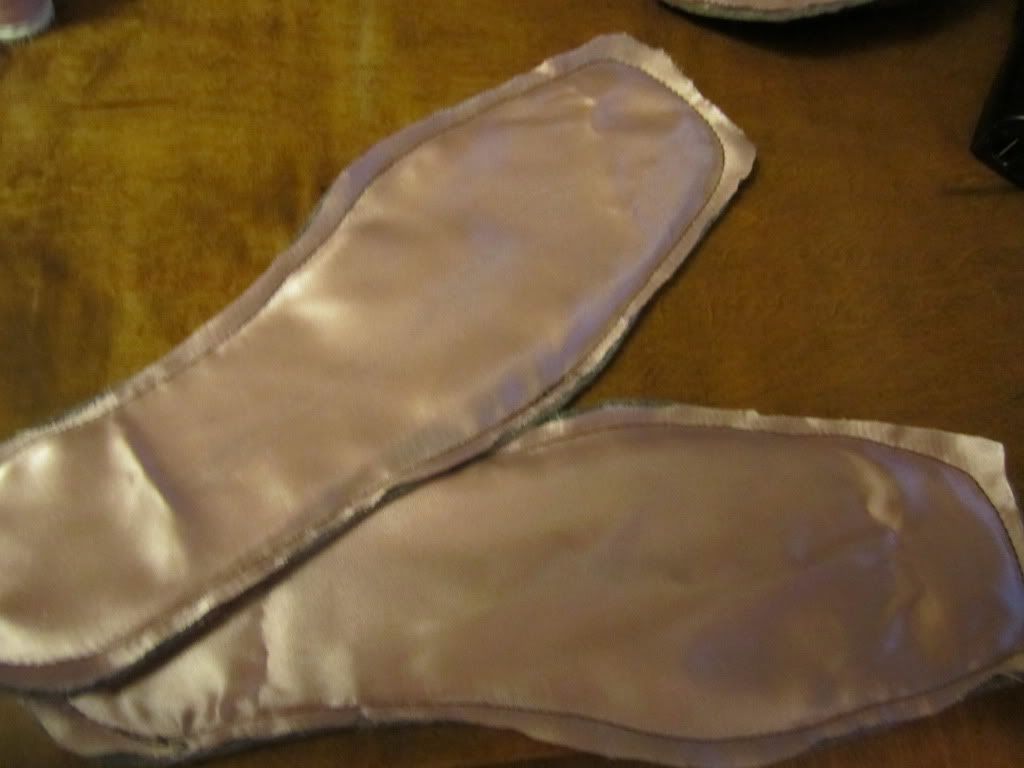 |
| "Finished view of the soles stitched together." |
 |
| "Right sides together, stitch sole to upper. Take care to match the toes and heels together and ease the sides to match. The heel is the tightest part to stitch, and I recommend a second seam there. I also recommend following the seam of the upper part of the shoe, to avoid showing that seam when turned right side out." |
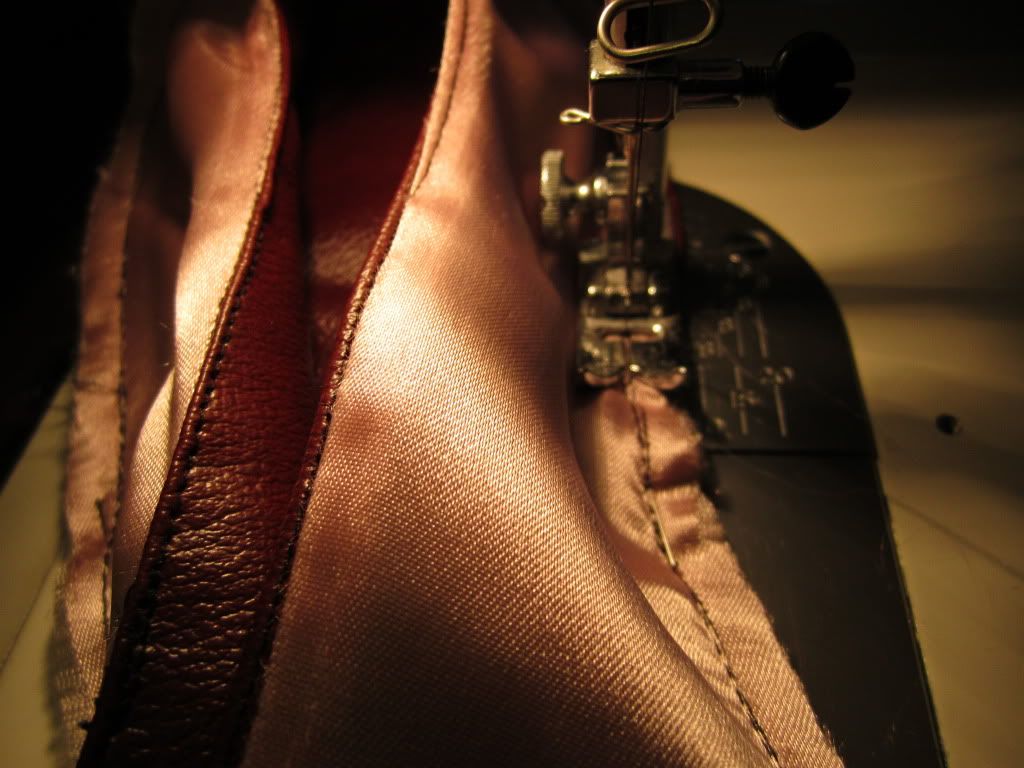 |
| "Just a view of this as I stitch." |
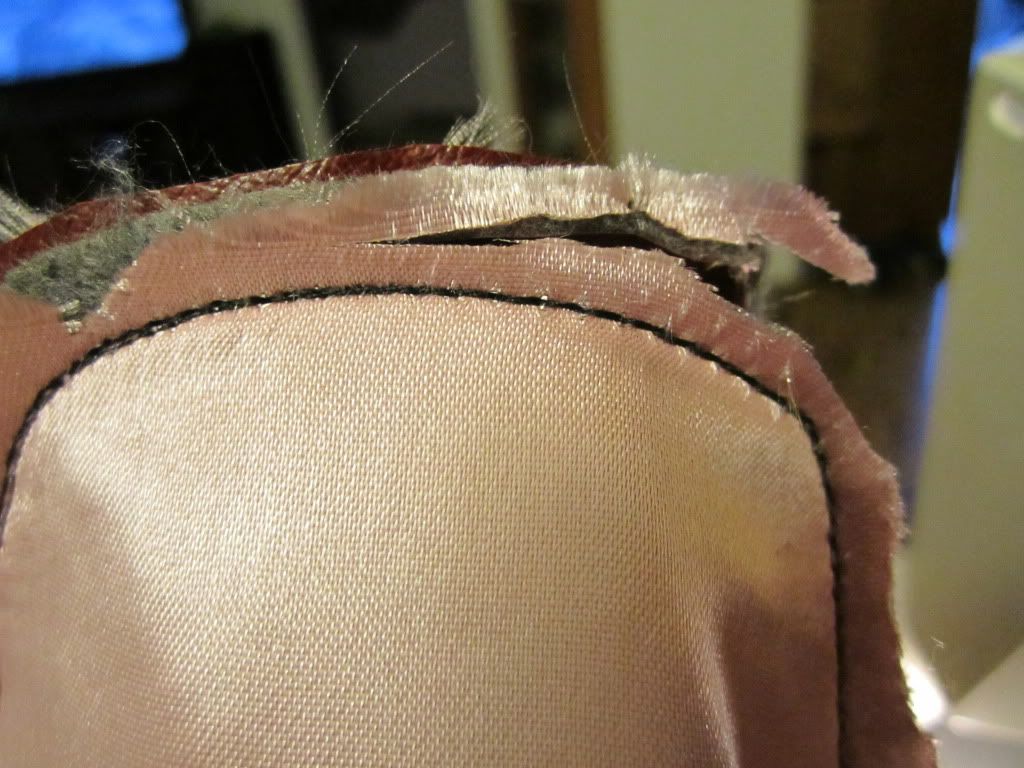 |
| "Trim the toe." |
 |
| "Turn right side out, check the seams and you're done!" |
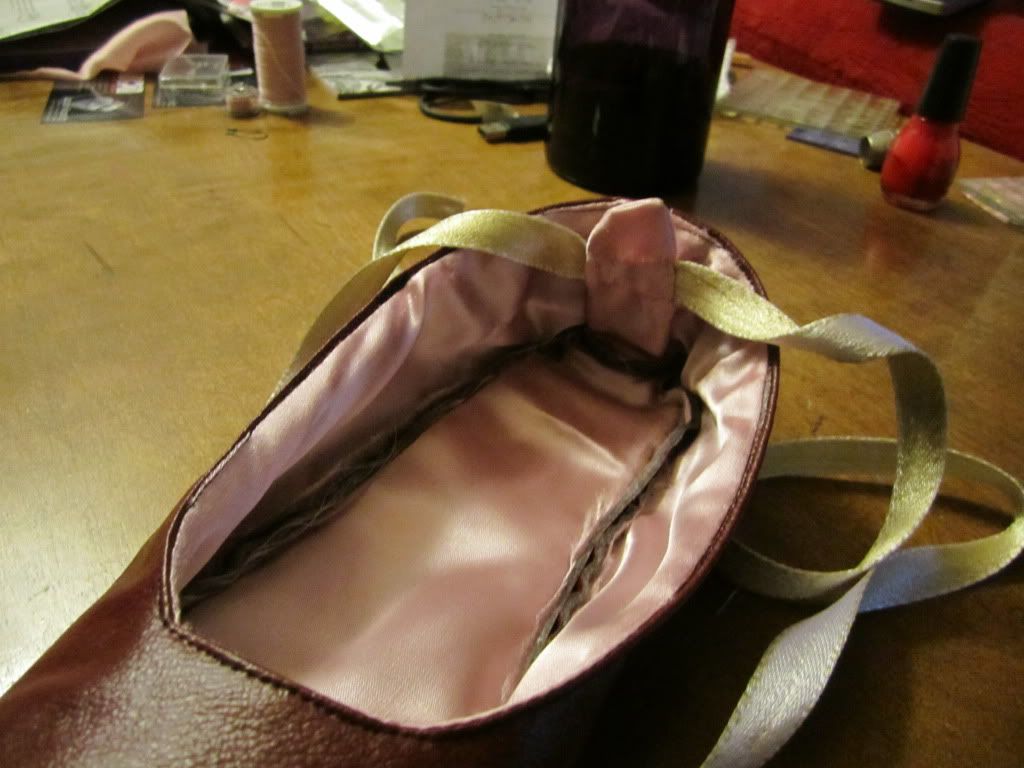 |
| "A view of the ribbon in the casing." |
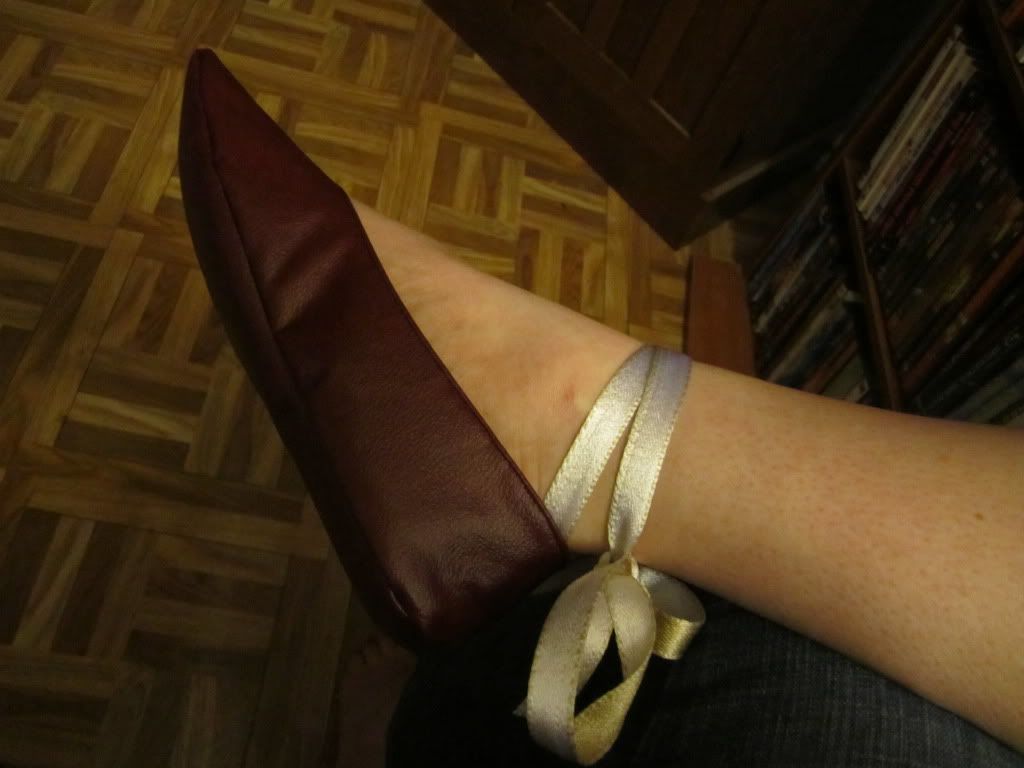 |
| The creator models her handiwork. Very nice! |
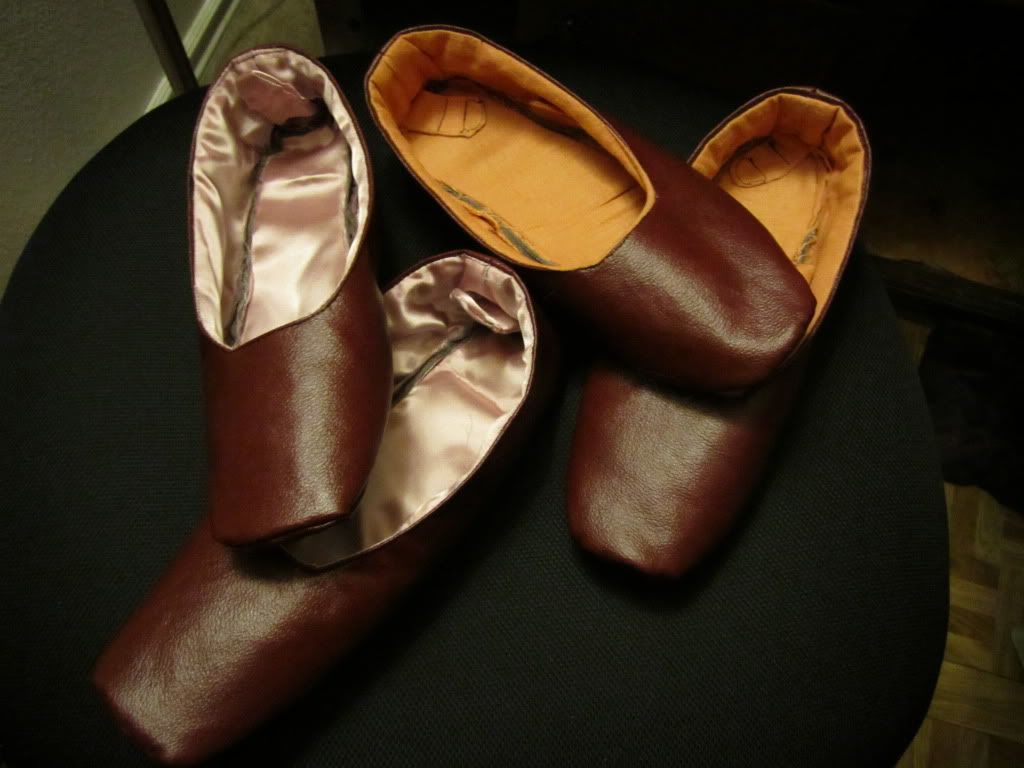 |
| They were so fun to make, she made two. :) |
Thank you Miss Charlotte for this wonderful tutorial! Imagine what you can do? You can change your toe shape, add embellishments, long flowing ribbons, the options are limitless! I hope this tutorial will inspire you to try for yourself.